Before deploying a room scheduler, confirm which rooms need displays, where the panels will go, and whether the proposed locations have the required power and network conditions. Agree on the booking workflow and project responsibilities, then use a representative room to check the setup before extending it across the office.
For a Q-NEX CPL50 project, this preparation connects the physical installation with the way your organization manages room reservations. A display needs to show the right room information, sit in a practical location, and have a clear maintenance owner after installation.
This checklist helps facilities teams, IT staff and implementation partners prepare for that work. Detailed mounting, electrical and software configuration should follow the current product documentation and the agreed installation plan. If you are still comparing solutions, start with our guide to choosing a meeting room booking system.
Build a Room and Panel Deployment List
Start with a room list that everyone involved can recognize. Record the name shown at each entrance, its location, its main use and how people currently reserve it. Where a room already has a calendar resource, include that reference in the project records.
Count rooms and panels separately. A room with two entrances may need a display at each entrance, while still representing one bookable space. More than one CPL50 panel can be associated with the same room schedule, so the physical layout should inform the panel count.
Use a simple preparation sheet:
| Record | Information to collect |
| Room identity | Room name, floor and location |
| Room use | Meeting space, training room or another agreed use |
| Entrances | Number of entrances and proposed panel locations |
| Booking arrangement | Current reservation process and calendar reference, if applicable |
| Site conditions | Mounting surface, nearby infrastructure and access restrictions |
| Deployment phase | Pilot room or proposed rollout batch |
Check for duplicate or outdated room names before configuration begins. If employees call a space “Training Room” but its calendar uses an old department name, identify the mismatch and agree on a consistent reference.
Keep this list as the working record throughout the project. Update it when locations or room assignments change rather than allowing separate teams to maintain conflicting versions.
Review Each Proposed Installation Location

Walk through the office and assess each location from the perspective of someone approaching the room. Can they identify the display easily? Will an open door obscure it? Could reflections make the information difficult to read?
Also consider how people move through the corridor. A location that looks convenient on a floor plan may be awkward when several people gather outside a meeting. Review readability and access in the actual space, including any accessibility requirements that apply to the project.
Photograph the proposed position and its surroundings. Mark the intended location on the floor plan so the implementation team can connect each photograph to the correct room. Include any restrictions on drilling, building alterations or work outside normal office hours.
The mounting surface needs its own review. Do not assume that a method suitable for one wall or partition is appropriate for another. Ask the implementation team to confirm the approved mounting approach against the current CPL50 documentation and site conditions.
Leave practical access for maintenance, too. The team should be able to inspect or service the installation without discovering that furniture, finishes or later building work have blocked access.
Confirm Power and Network Readiness with Your IT Team
Before scheduling installation, ask IT and the implementation team to compare the available infrastructure with the requirements in the current CPL50 product documentation.
The useful questions at this stage are straightforward: What is already available at each proposed location? What additional preparation is required? Who will provide it, and when will it be ready?
Record unresolved items against the relevant room. A general statement that “the office has network access” does not establish that the intended panel location is ready. Similarly, an available connection should be reviewed for suitability rather than assumed to meet the project’s requirements.
If additional cabling or other site work is needed, include it in the schedule before the equipment installation appointment. Coordinate this work with facilities staff, especially where access depends on building management or other contractors.
Keep specific wiring, electrical and network configuration instructions in the approved technical documentation. The purpose of the readiness check is to establish that the required conditions will be available—not to substitute a blog checklist for an installation procedure.
Agree on the Booking Workflow Before Configuration
Decide how employees will reserve rooms before the panels are configured. The project team needs a shared understanding of the booking entry point, the room information to use and who maintains that information.
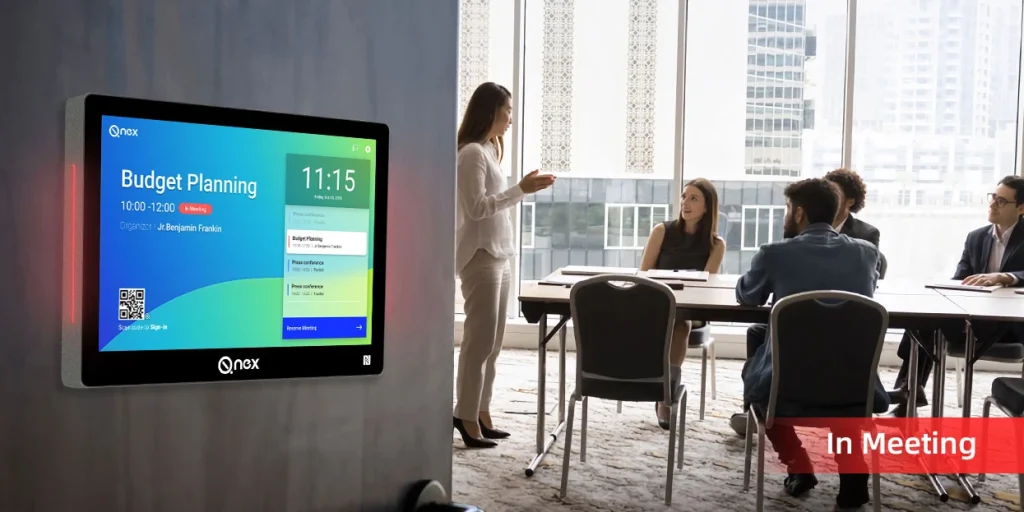
For Microsoft 365-connected rooms, employees make reservations through Outlook or Teams. After organizational authorization and connection to the relevant room calendar, CPL50 synchronizes the calendar events for display at the entrance. Our article on using CPL50 with Microsoft 365 explains the integration questions to review with IT.
For a project using Q-NEX scheduling without that calendar connection, confirm the intended workflow separately with Q-NEX. Do not assume that every interaction demonstrated in one operating mode applies unchanged in another.
Identify which functions belong in the agreed project scope, such as schedule display or QR-code check-in. Define what the team will verify for those functions during the pilot.
This is also the time to resolve uncertainty about room names, calendar associations and administrative responsibility. Leaving those decisions until installation can result in equipment being physically ready while the intended workflow remains unclear.
Assign Responsibilities and Plan the Installation Window
Agree on responsibilities before booking the installation date. One person may cover several roles in a small office, but each task still needs an identifiable owner.
| Project role | Suggested responsibility |
| Facilities or office coordinator | Confirm the room list, site access and suitable work periods |
| IT contact | Coordinate network readiness, the calendar environment and internal authorization |
| Implementation partner | Confirm the installation approach and carry out the agreed work |
| Project owner | Track open issues, organize acceptance and approve subsequent deployment phases |
Treat this as a starting point for discussion. The actual division of work depends on the project agreement; it does not imply that Q-NEX provides every installation or on-site service.
Choose an installation window that accounts for room use. Tell the people responsible for bookings when access may be restricted, and agree on how any affected meetings will be handled.
Before the appointment, confirm that the required people, room access and supporting documentation will be available. If a prerequisite is incomplete, make its effect on the schedule clear rather than expecting the installer to resolve it on arrival.
Run a Representative Pilot and Record Acceptance Results

Choose a pilot room that reflects the conditions you expect during the wider rollout. The largest or busiest room is not automatically the best starting point. A typical room may provide a more useful first check; a substantially different installation condition may need a separate review.
Write down the acceptance criteria before the pilot. These should describe observable results, not broad expectations such as “the system works well.”
Check that the installed position is practical, the room identification is correct, and the display shows information for the intended room. Verify the agreed functions using the selected booking workflow. Ask the staff who will manage the system to participate, rather than limiting the review to the installation team.
Use a short acceptance record:
| Check area | Evidence to record |
| Installation location | Position and accessibility checked against the agreed plan |
| Room identification | Physical room, panel identification and calendar association matched |
| Agreed functions | Expected and observed results for the selected workflow |
| Administration | Responsible staff can perform the agreed routine tasks |
| Outstanding issues | Description, assigned owner and recheck result |
For calendar-specific testing, use the integration checks agreed with IT. This deployment review should assess whether the complete room setup is ready for handover, rather than repeat a separate technical configuration exercise.
Record unexpected results clearly. Distinguish an installation issue from a room-data problem or a question about the booking workflow so the appropriate person can investigate it.
Before expanding, agree which issues must be resolved and which, if any, can remain as documented follow-up items. The checklist is a proposed review method, not a claim that any particular installation has already passed testing.
Prepare the Handover Before Expanding to More Rooms
Prepare the handover information during the pilot so it can be improved before the next deployment batch.
The final room list should show where each panel is installed and which room it represents. Record the selected booking arrangement, the administrative owner and where authorized staff can find the applicable product documentation.
Include a short employee briefing. People need to know where to make reservations, what information to consult at the entrance and whom to contact if something appears wrong. Detailed booking policies can remain in the organization’s own guidance.
Keep configuration records and access information in the organization’s approved locations. A general handover document should identify the responsible people without circulating passwords or secret keys.
Also retain the acceptance results and any open issues. If a room is renamed or reassigned later, these records give the responsible team a starting point for reviewing the associated setup.
Use the pilot findings to refine subsequent batches. Similar rooms may follow the same preparation pattern, but different mounting conditions or infrastructure still deserve review. Repeat the relevant checks rather than assuming the first installation resolves every site condition.
Discuss Your CPL50 Deployment Plan with Q-NEX
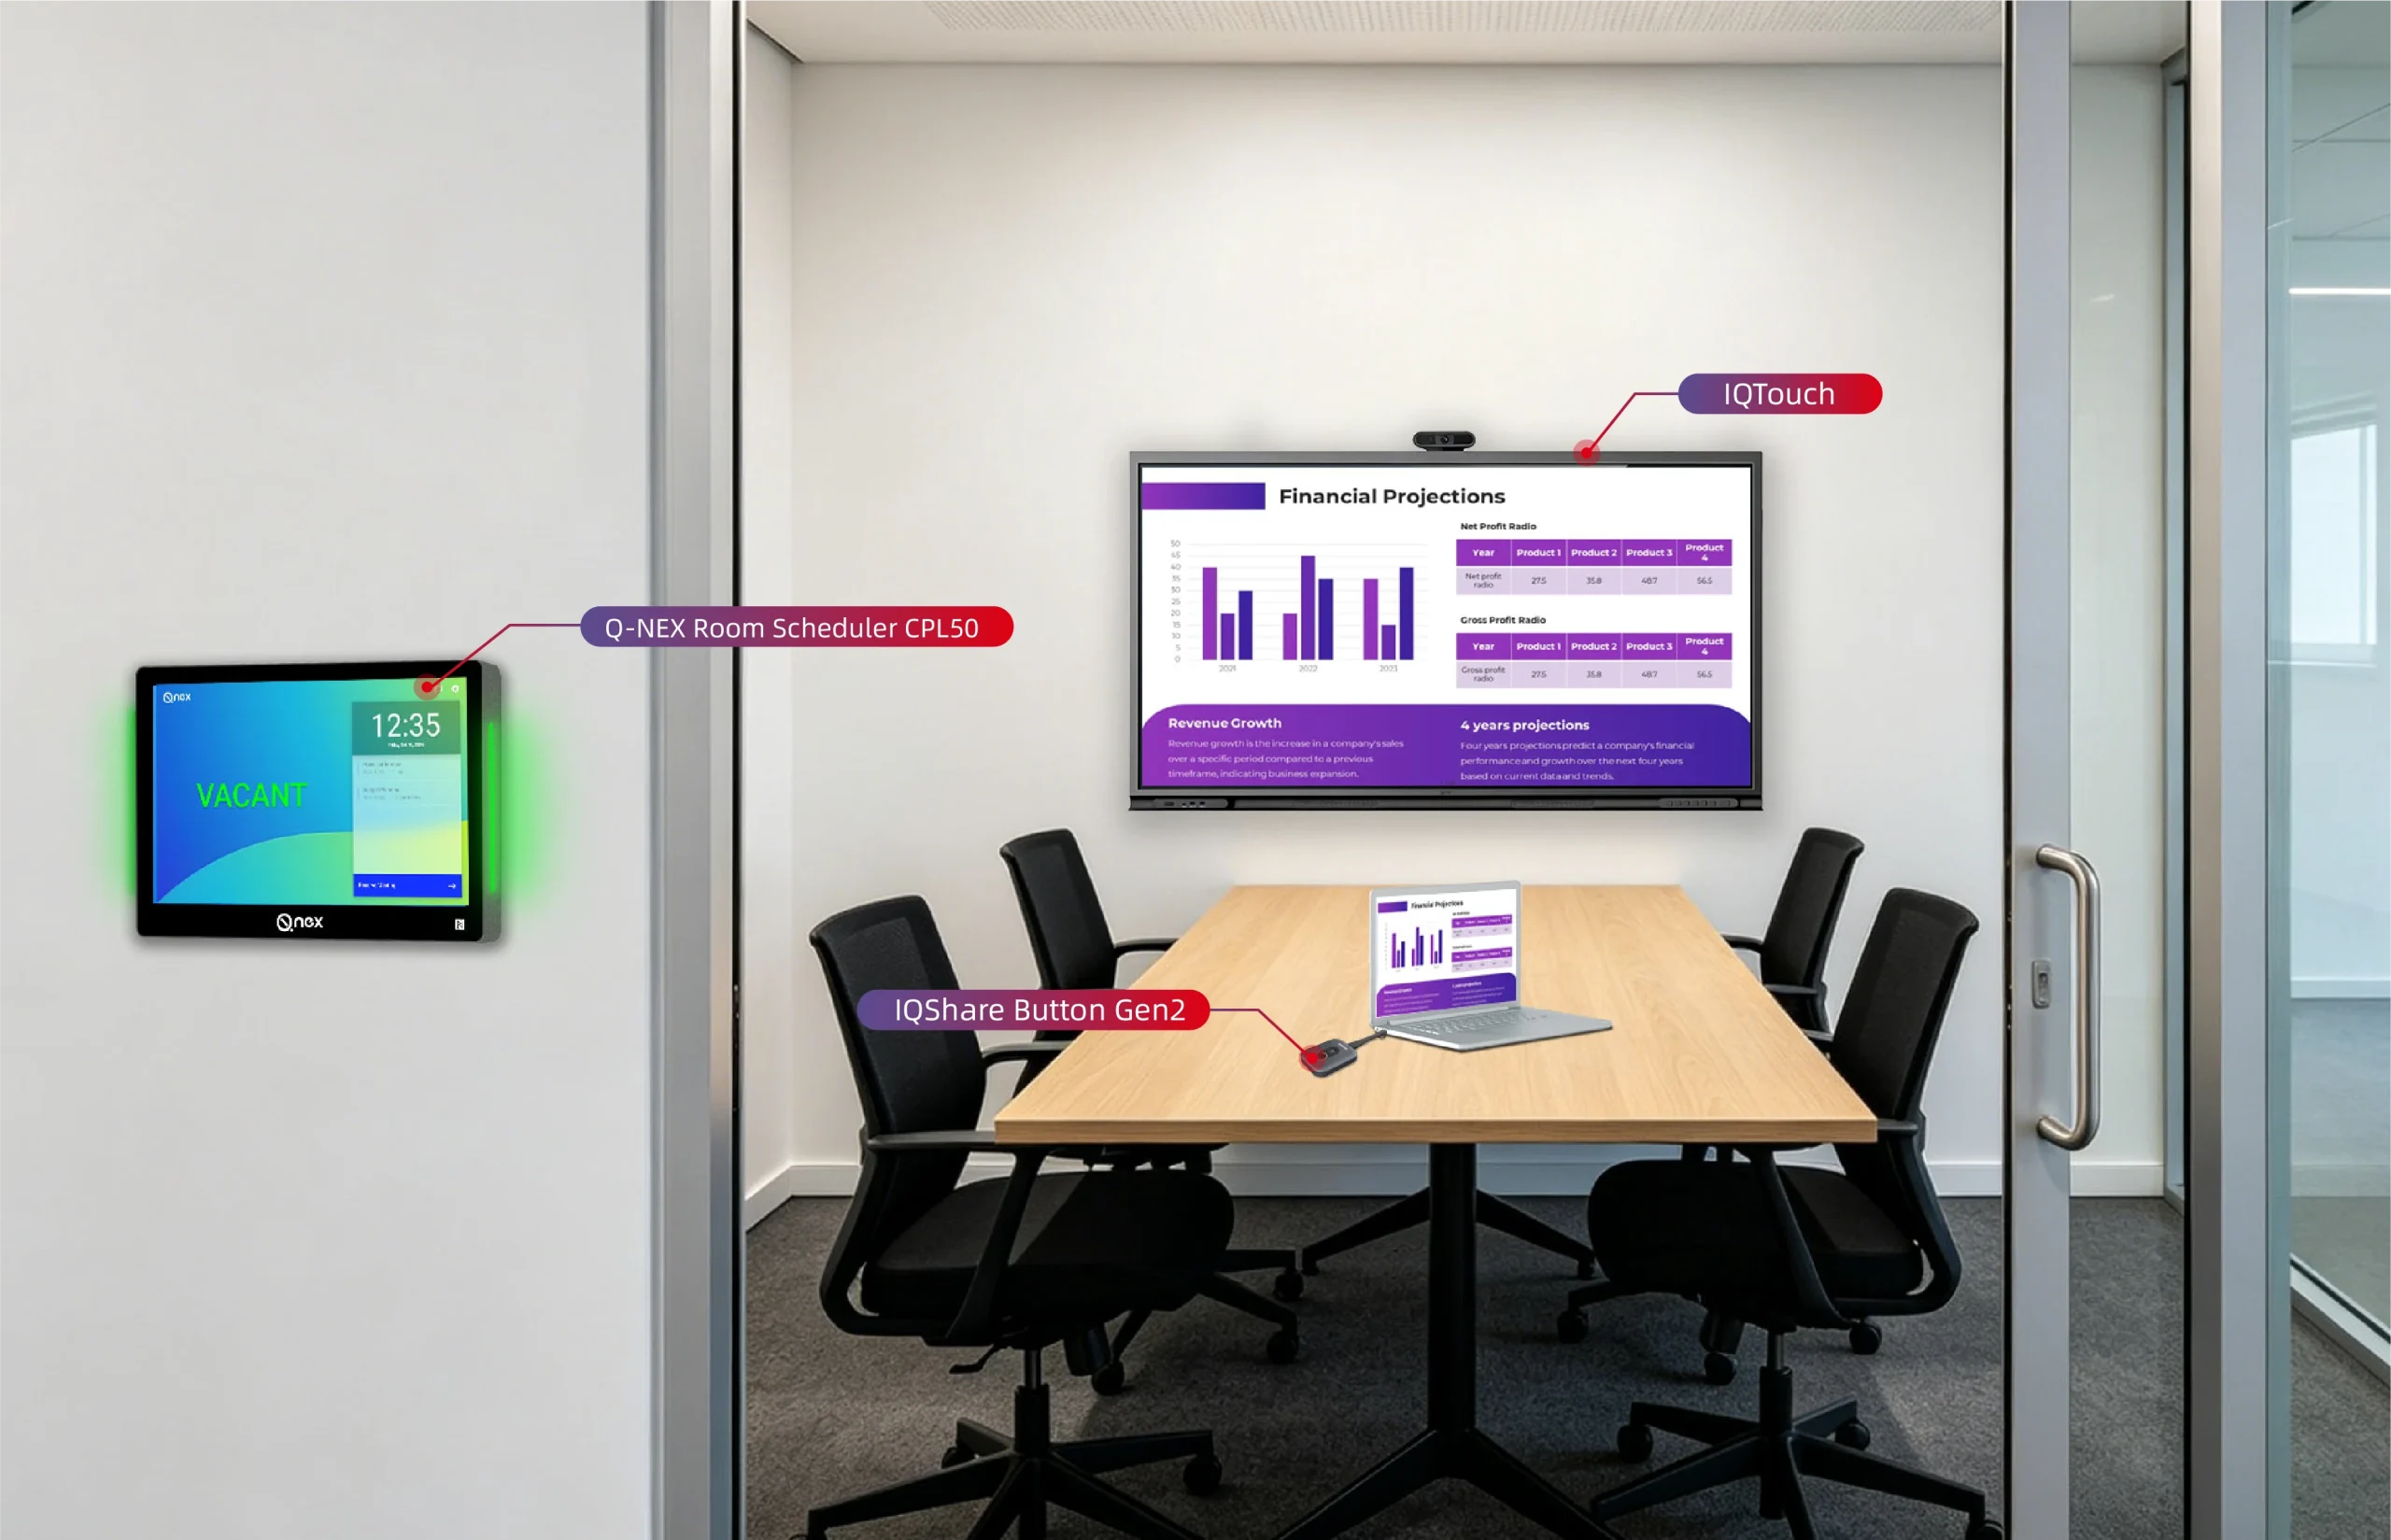
The Q-NEX CPL50 Room Scheduler is a 10-inch wall-mounted terminal for meeting-room scheduling and status display. Planning the room layout and booking workflow together helps your team assess how it fits the proposed project.
For an initial discussion, prepare a room list, a marked floor plan and photographs of the intended panel locations. Describe the current calendar environment, identify an IT contact and share the proposed deployment schedule.
You do not need to resolve every technical question before contacting the team. Flag the items that still need confirmation so they can be reviewed against the current product documentation and project scope.
Discuss your room scheduler deployment with Q-NEX to review the planned setup and request the relevant product and implementation information.
Frequently Asked Questions
What Should We Prepare Before Deploying a Room Scheduler?
Prepare a room list, proposed panel positions, site photographs and a description of the current booking process. Identify the people responsible for facilities, IT and project acceptance. Review power, network and mounting requirements against the current product documentation before arranging installation.
Can One Meeting Room Use More Than One CPL50 Panel?
Yes. More than one CPL50 panel can be associated with the same room schedule. This may be useful where a room has multiple entrances. Count the panels separately from the rooms and confirm each proposed installation location.
Should We Start with a Pilot Room or Deploy Across the Whole Office?
A representative pilot gives your team an opportunity to review installation conditions, the selected workflow and handover requirements before repeating the setup. Use its findings to decide whether the next batch is ready and whether different room conditions require additional checks.
Where Can Our Installation Team Obtain the Technical Documentation?
Contact Q-NEX with the project requirements and proposed site conditions to request the applicable product documentation. The installation team should use the current approved materials for mounting, power, network and configuration details, rather than relying on general deployment advice alone.
Here are some other articles that we think might interest you:
Minimal Effort, Maximized AV Experience by Q-NEX AV Control System
Revolutionizing Education: Q-NEX Smart Classroom Solution
Elevating Learning Experiences with Q-NEX Lecture Capture Solution