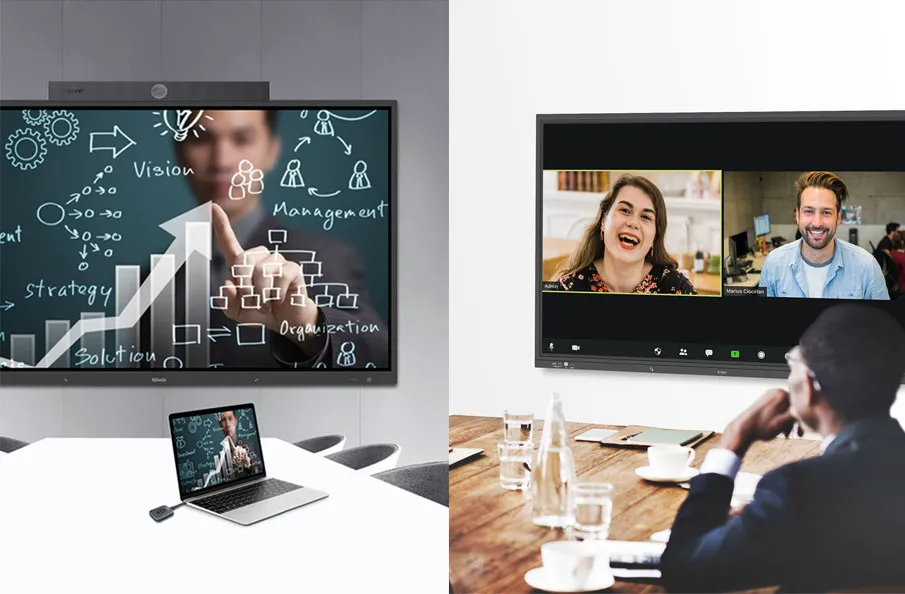
Designing and installing a reliable AV control system is crucial for environments that rely on seamless integration of audio-visual technology. Whether you’re setting up a corporate boardroom, a home theater, or a conference hall, a properly designed and implemented AV control system enhances user experience, boosts efficiency, and streamlines operations. This article will provide you with a step-by-step approach to how to design and install a reliable AV control system, covering everything from understanding the basics to troubleshooting and maintenance.
1. Understanding the Basics of AV Control Systems
Before diving into the design and installation, it’s essential to grasp the fundamentals of the AV control system and its key components. This foundational knowledge will guide your decisions throughout the process.
1.1. What is an AV Control System?

An AV control system refers to the centralized system used to manage a variety of audio and video equipment from a single interface. These systems integrate devices like projectors, speakers, microphones, TVs, and video conferencing equipment, making it easier for users to control all aspects of audiovisual content in one place. With an AV control system, users can switch video sources, adjust volume levels, and even control lighting, all from a single device such as a touch panel, mobile app, or remote.These systems are widely used in various settings, including corporate boardrooms, educational facilities, entertainment venues, and home theaters. The primary goal is to simplify the management of complex setups while ensuring smooth, uninterrupted performance.
1.2. Key Components of an AV Control System
To create a reliable AV system, several key components must work together. Each element plays a crucial role in the functionality of the system:
1.2.1 Control Processors
The control processor acts as the “brain” of your AV system. It receives commands from the user interface (e.g., touch panel or app) and sends them to the appropriate devices. The processor ensures that devices like projectors, speakers, and displays work in harmony, based on the user’s commands.
1.2.2 Control Interfaces
Control interfaces are the means by which users interact with the AV system. These interfaces can take the form of touch panels, mobile apps, web platforms, remote controls, or even voice-activated systems. Q-NEX NMP can realize local control via touch panel or network-based control through Web console and APP. The goal is to make controlling complex AV setups simple and intuitive for users, no matter their level of technical expertise.
1.2.3 Input/Output Devices
Input devices (such as video players, microphones, and computers) send signals to the system, while output devices (such as displays, projectors, and speakers) receive and present the content. Whether it is a presentation, video call or entertainment, if there is a need for fast response and smooth operation, seamless technology can be considered, but it also means a higher price.
2. Designing an AV Control System

Now that you understand the components of an AV control system, the next step is to move on to the design phase. A well-thought-out design ensures that the system will meet your specific needs and operate efficiently.
2.1. Defining Project Goals and Requirements
The first step in designing an AV control system is understanding the specific needs of the space and the people who will be using it. Is the primary objective to manage a smart campus central management, a corporate presentation, a live event, or a home theater setup? Defining clear goals will help guide the equipment selection, layout, and system configuration.
2.2. System Architecture and Design
Once the project goals are clear, it’s time to begin designing the system architecture. This phase involves creating diagrams and flowcharts that illustrate how each component interacts with others. Visualizing the system will help ensure that the setup is cohesive and efficient.
2.3. Block Diagrams
A block diagram provides a high-level view of the entire system, outlining how the devices (e.g., displays, speakers, control processors) connect to each other. This is a useful tool for identifying potential issues before installation begins and ensuring that the system will function as planned.
2.4. System Flowcharts
System flowcharts provide a more detailed view of the control flow within the AV system. They outline how commands move from the control interface to the devices and how signals are processed and routed. This step is essential for ensuring that the system can handle all user inputs and perform actions seamlessly.
3. Selecting the Right Equipment
Choosing the right equipment is one of the most critical steps in the design phase. The performance of your AV control system largely depends on the quality and compatibility of the components selected.
3.1. Control Processors
When selecting control processors, it’s essential to choose one with enough capacity to manage all the devices in the system. Consider factors like scalability, integration with existing devices, ease of configuration, and ease of programming. Popular control processors include brands like Q-NEX, Crestron, and AMX.
3.2. Control Interfaces

The control interface should be intuitive and easy to use. For a corporate environment, a touch panel with custom presets and macros may be the best option. For residential setups, mobile apps or remote controls may be more appropriate. For example, the Q-NEX NMP is a more suitable choice for smart classrooms and small to medium sized conference rooms.
3.3. Input/Output Devices
Input and output devices should be chosen based on the specific needs of the space. For example, in a conference room, you might need multiple HDMI inputs for laptops, a microphone system for clear audio, and a large screen or projector for presentations. Ensure that the devices are compatible with the AV control system.
4. Cabling and Wiring
A reliable AV control system depends on solid cable infrastructure. Proper cabling ensures the signal quality remains intact and avoids potential issues like signal interference or poor device connectivity.
4.1. Cable Types and Standards
Use high-quality cables that meet industry standards for AV systems. HDMI, VGA, and DisplayPort are common for video signals, while balanced XLR or unbalanced RCA are used for audio. For networking and control, Ethernet cables (Cat 5e or Cat 6) are typically used.
4.2. Cable Routing and Labeling
Proper cable routing minimizes clutter and ensures that cables remain organized and easily accessible for troubleshooting. Label each cable to identify its purpose, which will be crucial during the installation and maintenance phases.
5. Programming and Configuration
Programming the AV control system ensures that it works seamlessly with the devices and provides the user with an intuitive interface. The programming phase includes creating macros, setting device parameters, and integrating automation where necessary.
5.1. Control System Programming
Control system programming is an art and a science. Utilizing multiple tools, languages, and functions allow engineers to produce a creative solution.
5.1.1. Macro Programming
Macro programming allows users to execute complex commands with a single touch or button press. For instance, a “meeting mode” macro could turn on the projector, lower the screen, and adjust the lights—all at once.
5.1.2. Custom Programming
Custom programming tailors the system’s behavior to meet specific needs. This could include creating custom user interfaces, configuring devices for specific tasks, or integrating the AV control system with other building systems (like lighting or HVAC).
5.2. Device Configuration and Calibration

Device configuration and calibration can maximise the overall efficiency of an AV control system, and is a solution when selecting an AV control system. Q-NEX NMP is a highly integrated solution product that only requires simple configuration to achieve flexible and personalized control.
5.2.1. Input/Output Device Calibration
Calibrate each device to ensure optimal performance. This includes adjusting the brightness and contrast of displays, balancing speaker levels, and ensuring proper audio levels for microphones.
5.2.2. Audio and Video Source Calibration
Calibrate both the audio and video sources to ensure they provide high-quality output. This might involve setting the correct resolution on video sources or fine-tuning audio output to eliminate distortion.
6. Installation and Testing
Once the design and configuration are complete, the next phase is the actual installation of the system. This phase involves physically mounting the equipment, connecting cables, and performing rigorous testing.
6.1. Rack Mounting
For larger systems, equipment such as amplifiers, processors, and signal routers may be housed in racks. These should be securely mounted and easily accessible for maintenance.
6.2. Wall Mounting
Displays, projectors, and speakers should be wall-mounted to optimize space and performance. Ensure that the mounts are secure and allow for easy adjustments if needed.
6.3. Cable Termination
Properly terminate all cables to ensure a secure and reliable connection. Use connectors that match the cable type (e.g., HDMI, Ethernet) to avoid signal loss.
6.4. Cable Testing
Test all cables after installation to ensure that signals are transmitting correctly. This will help you identify any issues early on, saving time during the commissioning phase.
6.5. System Integration and Testing
Once everything is installed, the system must be thoroughly tested to ensure that all components are functioning as intended.
6.5.1. Functional Testing
Test each device to ensure that it responds to commands from the control system. This includes checking video input/output, audio levels, and display clarity.
6.5.2. Performance Testing
Perform performance testing to ensure that the system operates reliably under various conditions, such as during peak usage times or in high-demand scenarios like live events.
7. Troubleshooting and Maintenance
Even with the best planning and installation, occasional issues may arise. Here’s how to troubleshoot and maintain the system to keep it running smoothly.
7.1. Common AV Control System Issues
In a fast-paced business world, AV systems are vital. They are important for meetings, presentations, and collaborations.
7.1.1. Hardware Failures
Hardware failures, such as malfunctioning processors or damaged cables, can disrupt the system. Regular inspections and timely replacement of faulty components are essential for maintaining system reliability.
7.1.2. Software Glitches
Software glitches, such as unresponsive touch panels or incorrect settings, can also cause issues. Ensure that all software is up-to-date and compatible with the devices in the system.
7.1.3. Cabling Problems
Poorly connected or damaged cables are a common source of issues. Check cables regularly and replace them if necessary.
7.2. Troubleshooting Techniques
Troubleshooting is a critical skill and process in a myriad of fields, from information technology to customer service.
7.2.1. System Logs and Diagnostics
Use system logs and diagnostic tools to identify and resolve issues. Most modern AV control systems provide detailed logs that can pinpoint the source of the problem.
7.2.2. Step-by-Step Troubleshooting
Perform step-by-step troubleshooting by isolating components and testing each one individually. This method helps identify whether the issue is related to hardware, software, or cabling.
7.3. Preventive Maintenance
Preventive maintenance is a proactive maintenance strategy that keeps equipment, machinery and other assets in top condition.
7.3.1. Regular Inspections
Schedule regular system inspections to ensure all components are functioning properly. Early detection of potential issues can save time and money.
7.3.2. Software Updates
Regularly update system software to ensure compatibility with new devices and features.
7.3.3. Cleaning and Dust Removal
Dust and debris can damage equipment over time. Regular cleaning and dust removal can prolong the lifespan of your system.
8. Conclusion
Designing and installing a reliable audiovisual control system requires careful planning, proper equipment selection, and meticulous installation. By following these steps – understanding the basics, designing the system, selecting components, and more – you can create an audiovisual system that ensures seamless integration, high performance, and long-term reliability. To make your selection easier, contact the Q-NEX technical team. Our team of experts provides you with best-in-class AV solutions. As well as demonstrating our reliable and efficient AV solutions.
9. FAQs

What is the primary purpose of an AV control system?
An AV control system simplifies the operation of various audiovisual devices by centralizing their control into one interface, making it easier to manage equipment like displays, speakers, and lighting.
How do I choose the right control processor?
Choose a control processor that supports the number of devices you need to control and is compatible with your system’s requirements. Consider scalability and ease of programming.
What type of cables are required for an AV control system?
Common cables include HDMI for video, Ethernet cables for network connectivity, and XLR or RCA for audio. Ensure cables are of high quality to maintain signal integrity.
How often should an AV control system be maintained?
It’s recommended to perform regular inspections every 6-12 months and check for software updates. Additionally, ensure dust removal and cleaning as needed.
Can I integrate my AV control system with other building systems?
Yes, many modern AV control systems can be integrated with other building systems, such as lighting, HVAC, and security, to create a more efficient and automated environment.
Here are some other articles that we think might interest you:
Minimal Effort, Maximized AV Experience by Q-NEX AV Control System